Transport Fever 2 - British Girder Bridges & Viaducts
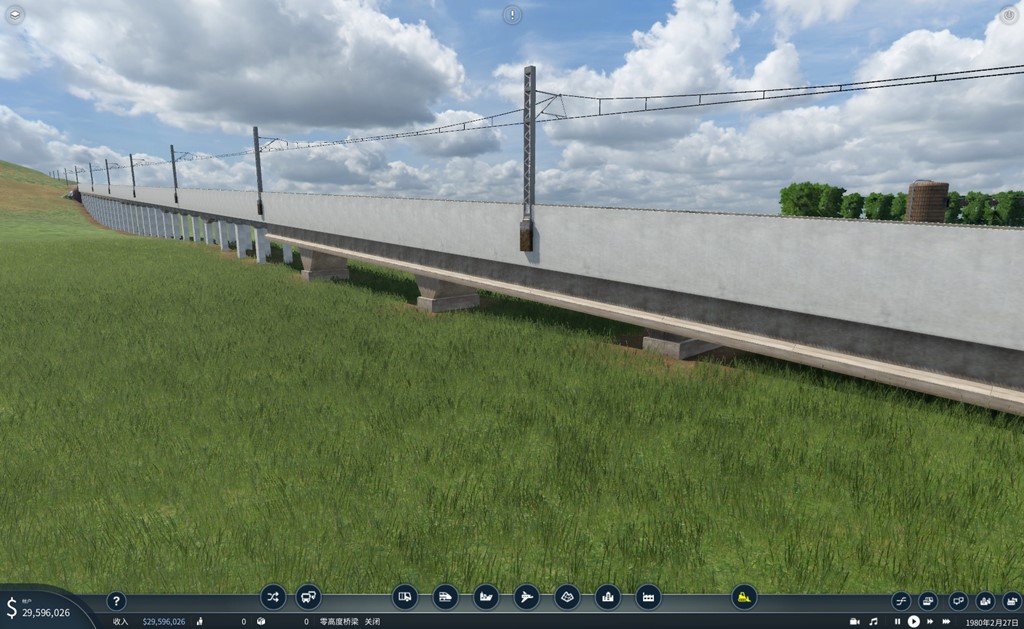
Adds many additional rail & road bridges, with many variations of appearance. Up to 140mph/225kph (depending on track). Some have no support pillars, which are intended to be added manually as Track Assets. Some are designed to be built in multiple segments.
Available: Always
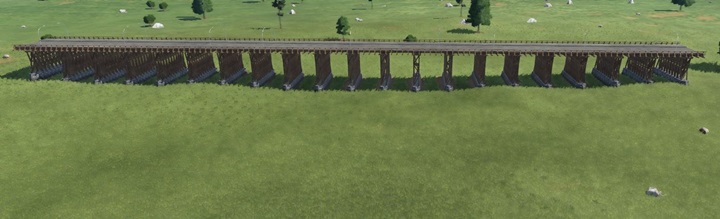
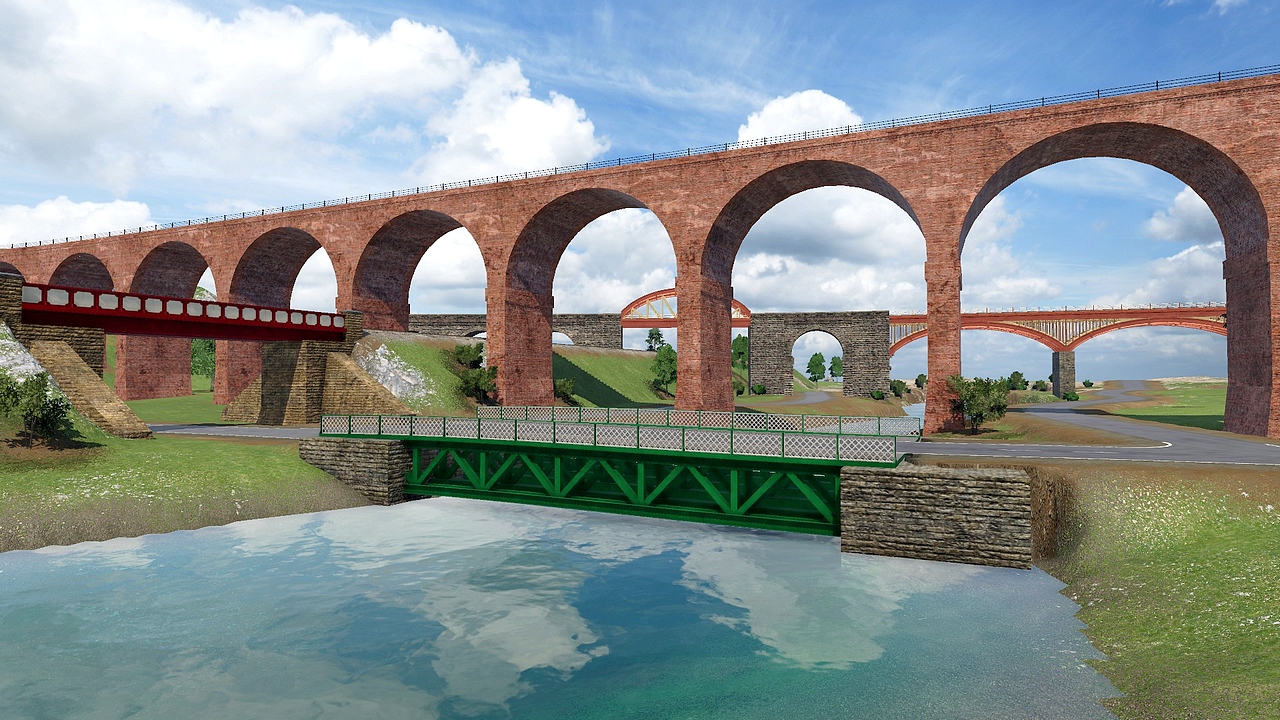
Viaducts
Stone 1, Grey, Sizes: S, M
Stone 2, Brown, Sizes: S, M
Brick 1, Dark (Purple), Sizes: S, M, B
Brick 2, Bright Red, Sizes: S, M, B
Brick 3, Pale Red, Sizes: S, M, B
Brick 4, Yellow, Sizes: S, M, B
All have two types of parapet (top edge): Solid (Stone/Brick), Railing
Sizes are larger pillar spacing relative to the game’s vanilla stone arch bridges:
S (Small) is 1.5x
M (Medium) is 2.0x
B (Big) is 2.5x
The different sizes and minimal pillar spacings help to span gaps without long unsupported segments, which can look unrealistic. Where even longer spans are needed they can used in conjunction with the girder bridges.
Stone Viaducts have a single segment section for transitioning Joins between S and M sections. (This is not needed for Brick Viaducts.)
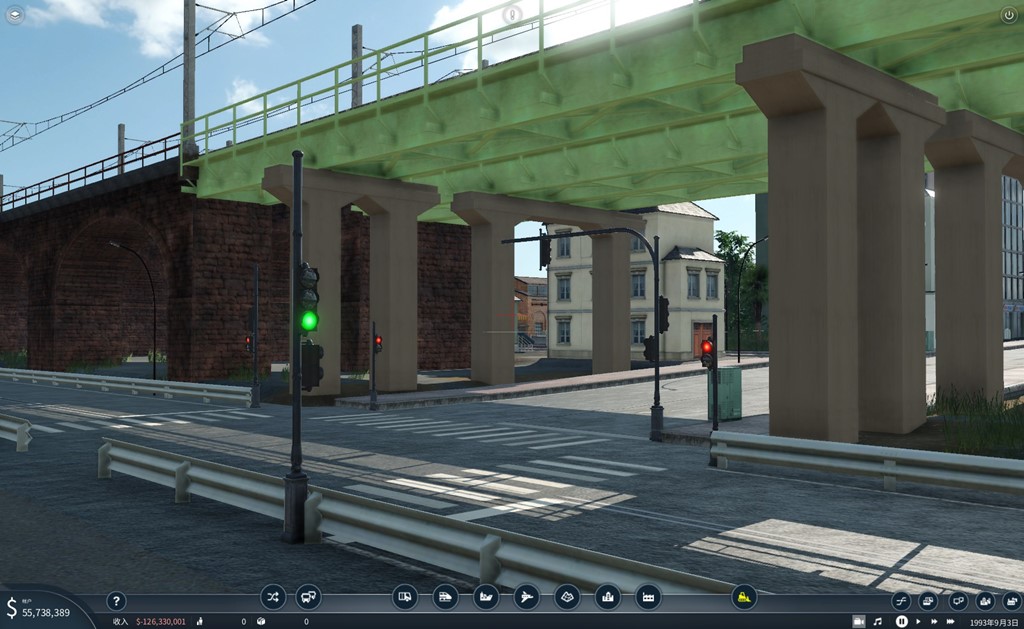
All styles have Start/End Buttresses single segment section for transitioning to/from Girder Bridges (or embankments).
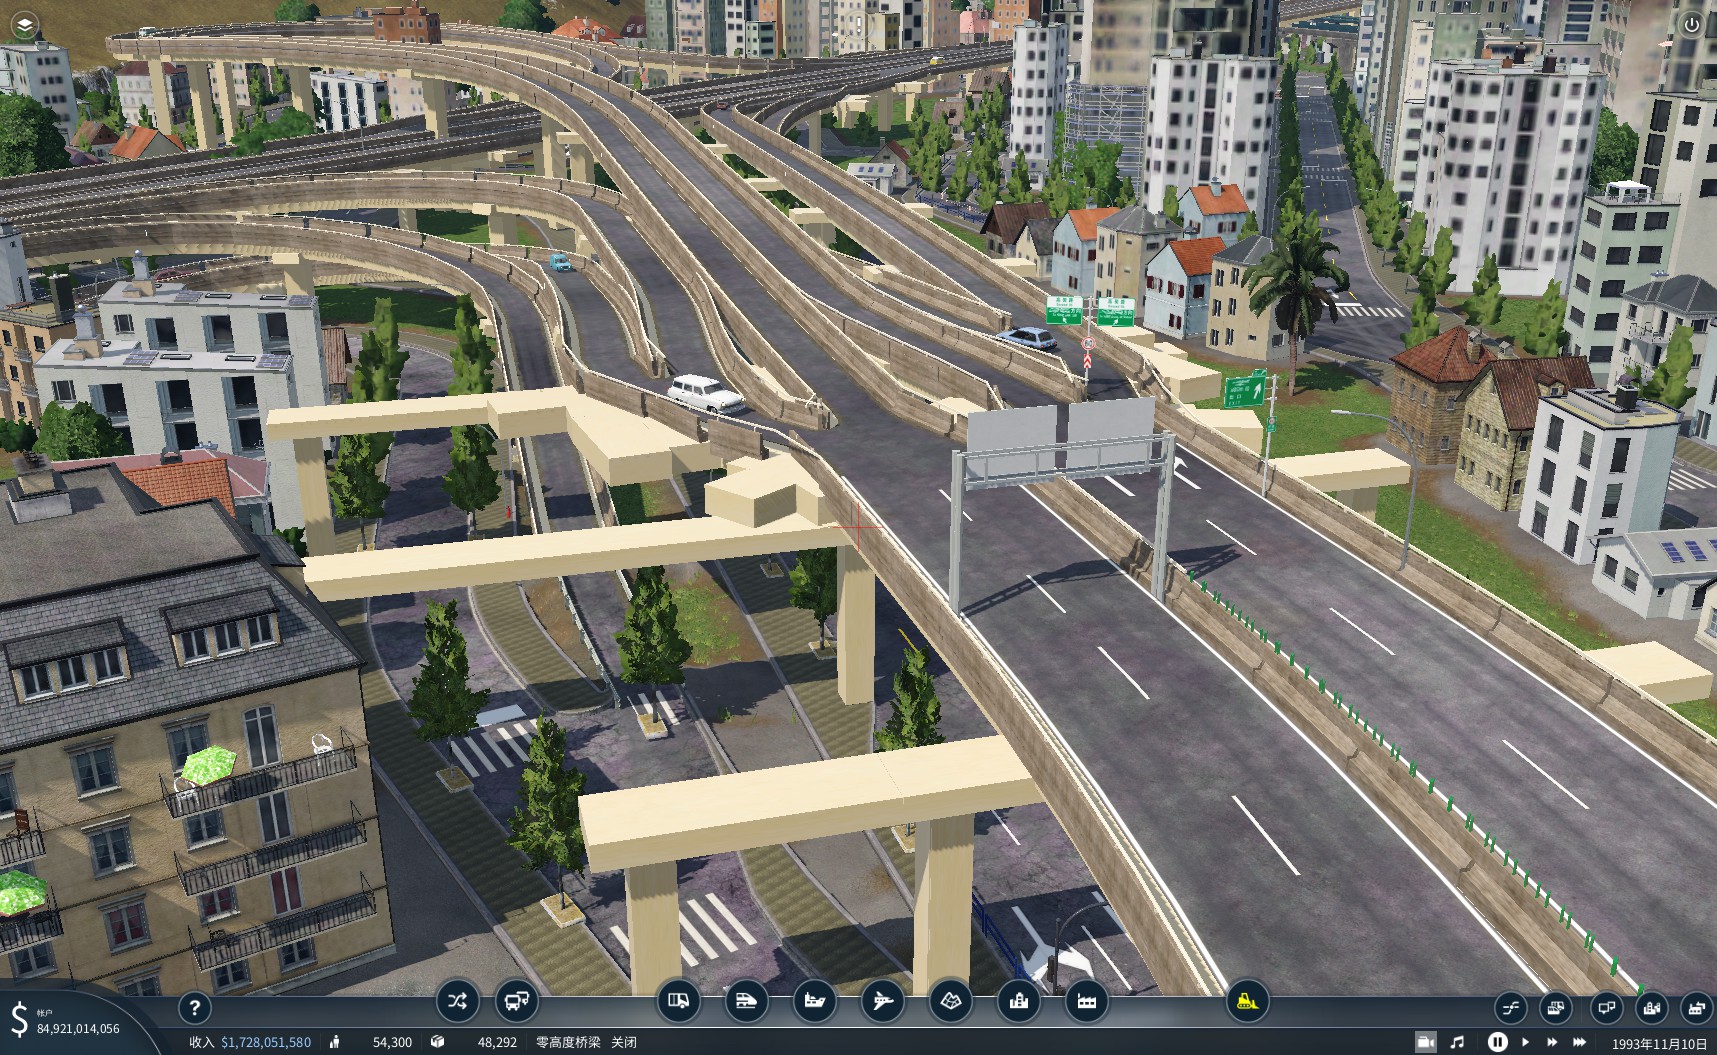
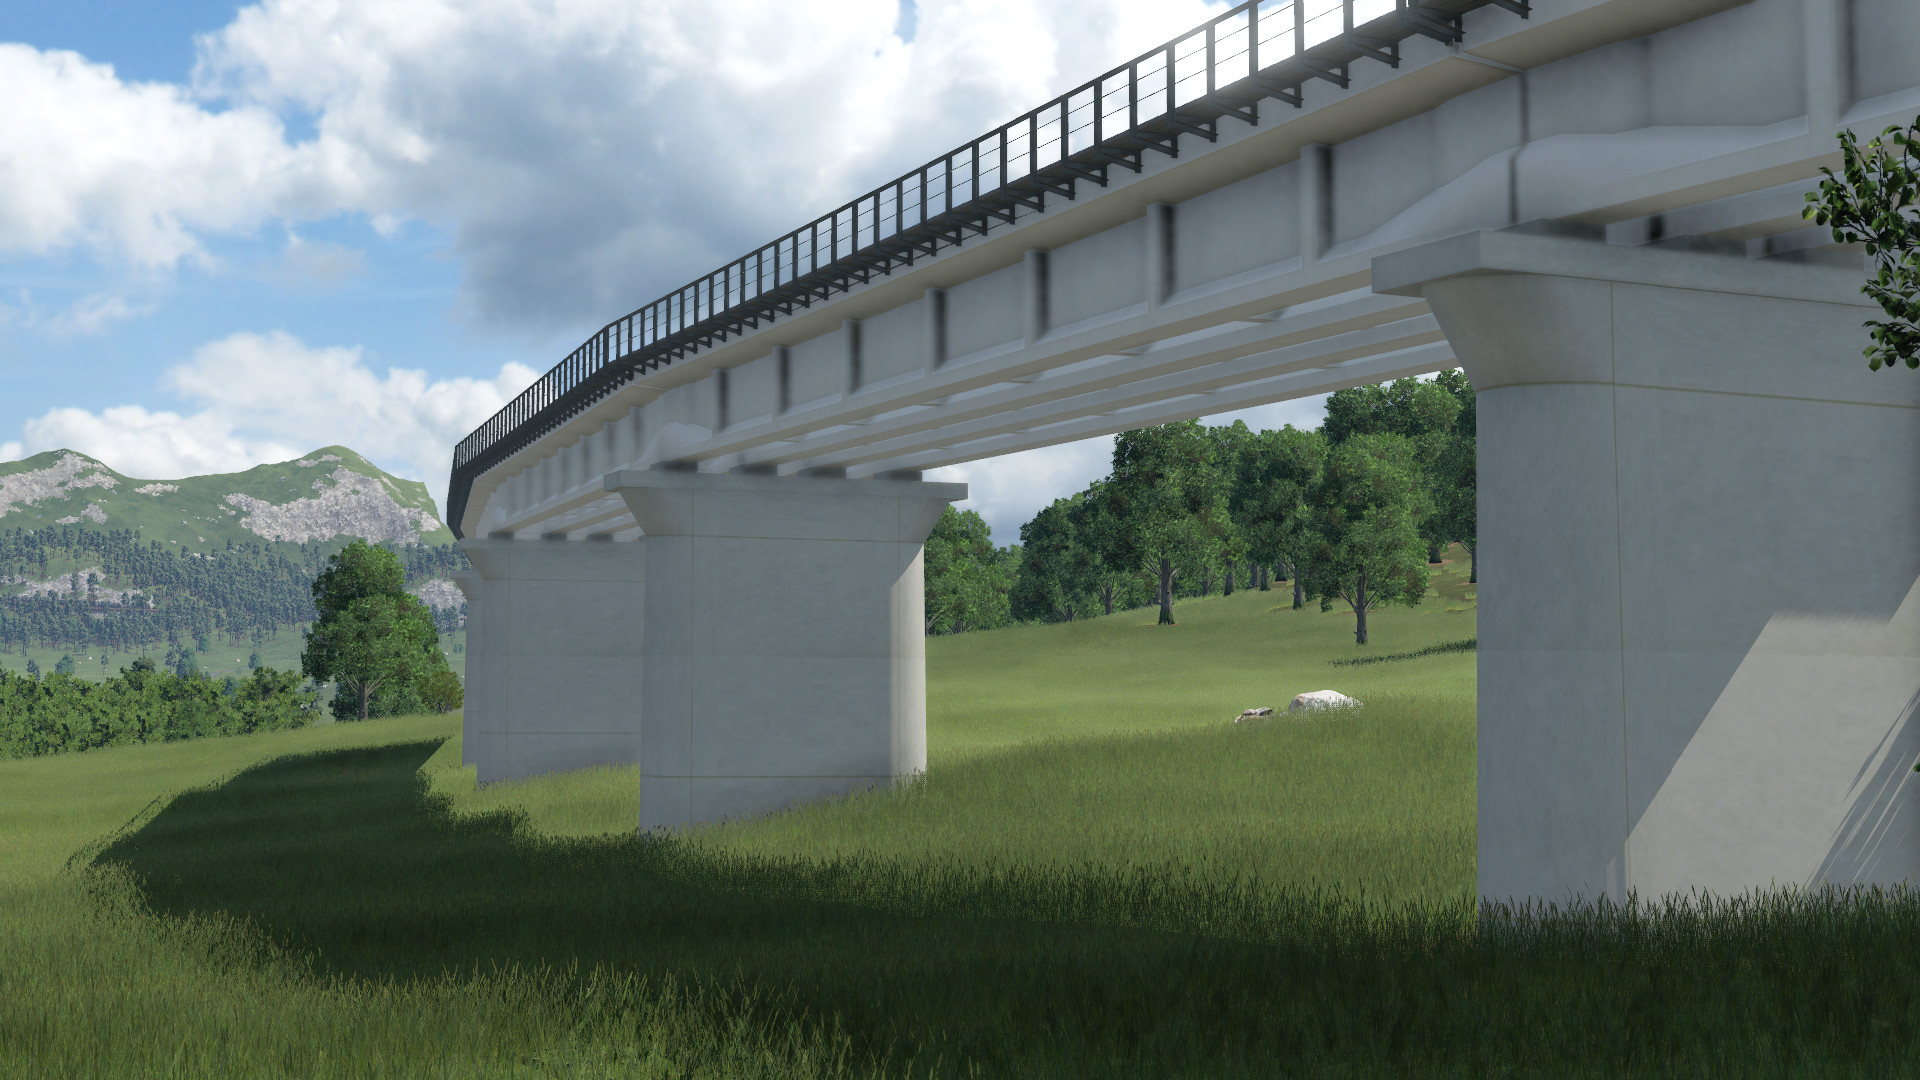
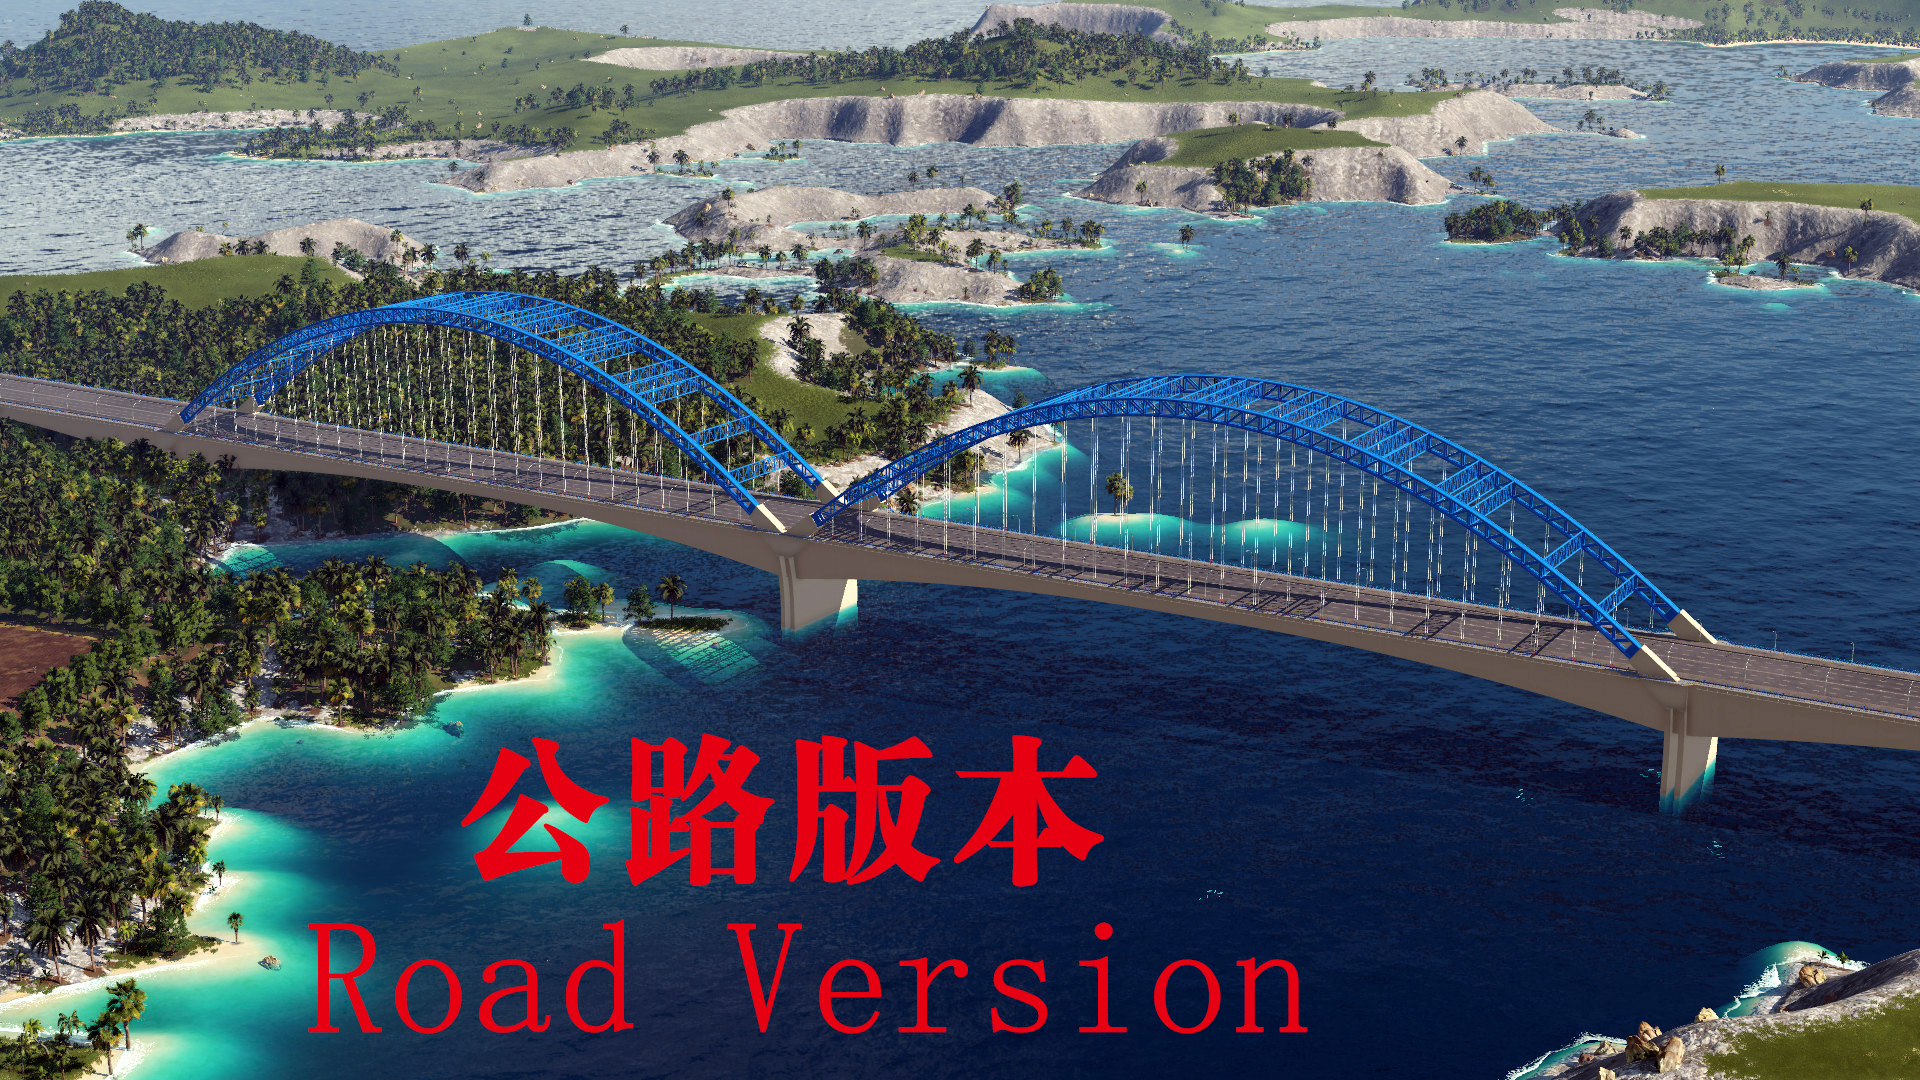
Girder Bridge
1a, Standard, Parapet: Plate, Colours: Grey, Green, Square GWR (Orange+Cream), Square Green+Red+White, Square Maroon
2a, Deep Under-Plate, Parapet: Plate, Colours: Grey, Green, Square GWR (Orange+Cream), Square Green+Red+White, Square Maroon
3a, Under-Brace, Parapet: Plate, Colours: Grey, Green
3b, Under-Brace, Parapet: Lattice, Colours: Grey, Green
4b, Under-Arch, Parapet: Lattice, Colours: Grey, Green, GWR (Orange+Cream) – No pillars
4c, Under-Arch, Parapet: Railing, Colours: Grey, Green, GWR (Orange+Cream) – No pillars
5c, Over-Arch, Parapet: Railing, Colours: Grey, Green, GWR (Orange+Cream)
6b, Under-Lattice, Parapet: Lattice, Colours: Grey, Green
7b, Over-Lattice, Parapet: Lattice, Colours: Grey, Green
Pillars and Buttresses for these bridges can be placed manually are located in Terrain, Assets, Bridge-Girder. The spacing for multiple pillars to match the natural size of arch girder bridges is 42m.
Since the assets are separate from the bridges, the can have their own choice of materials and variations in appearances and can be edited after placement by selecting them and clicking Configure.
Assets will snap to railway track, but no roads. The last option in their configuration allows for easier placement on road bridges. The standard keys can be used to change height ( , . ) and rotate ( n m ), whilst holding Shift makes the increments smaller.
The pillar assets are slightly large than the pillars that automatically placed with most the girder bridges, so that placed over the top of them, to change the material.

Authors: JK
 Uploaded by